Configuring RatOS
RatOS only needs minimal configuration to work, but comes with a lot of optional functionality that you can enable manually.
Introduction
Once you have completed the initial setup and opened http://RatOS.local/ in your browser, you are almost ready to print. There's a just a few things to go over to make sure the configuration matches your particular setup.
Mainsail
Mainsail is the control interface for your printer. Mainsail is a web application that talks to Klipper through Moonraker (the Klipper API). Mainsail is what you'll be using to start prints, monitor progress, configure klipper and much more. Mainsail is what you see when you open http://RatOS.local/;
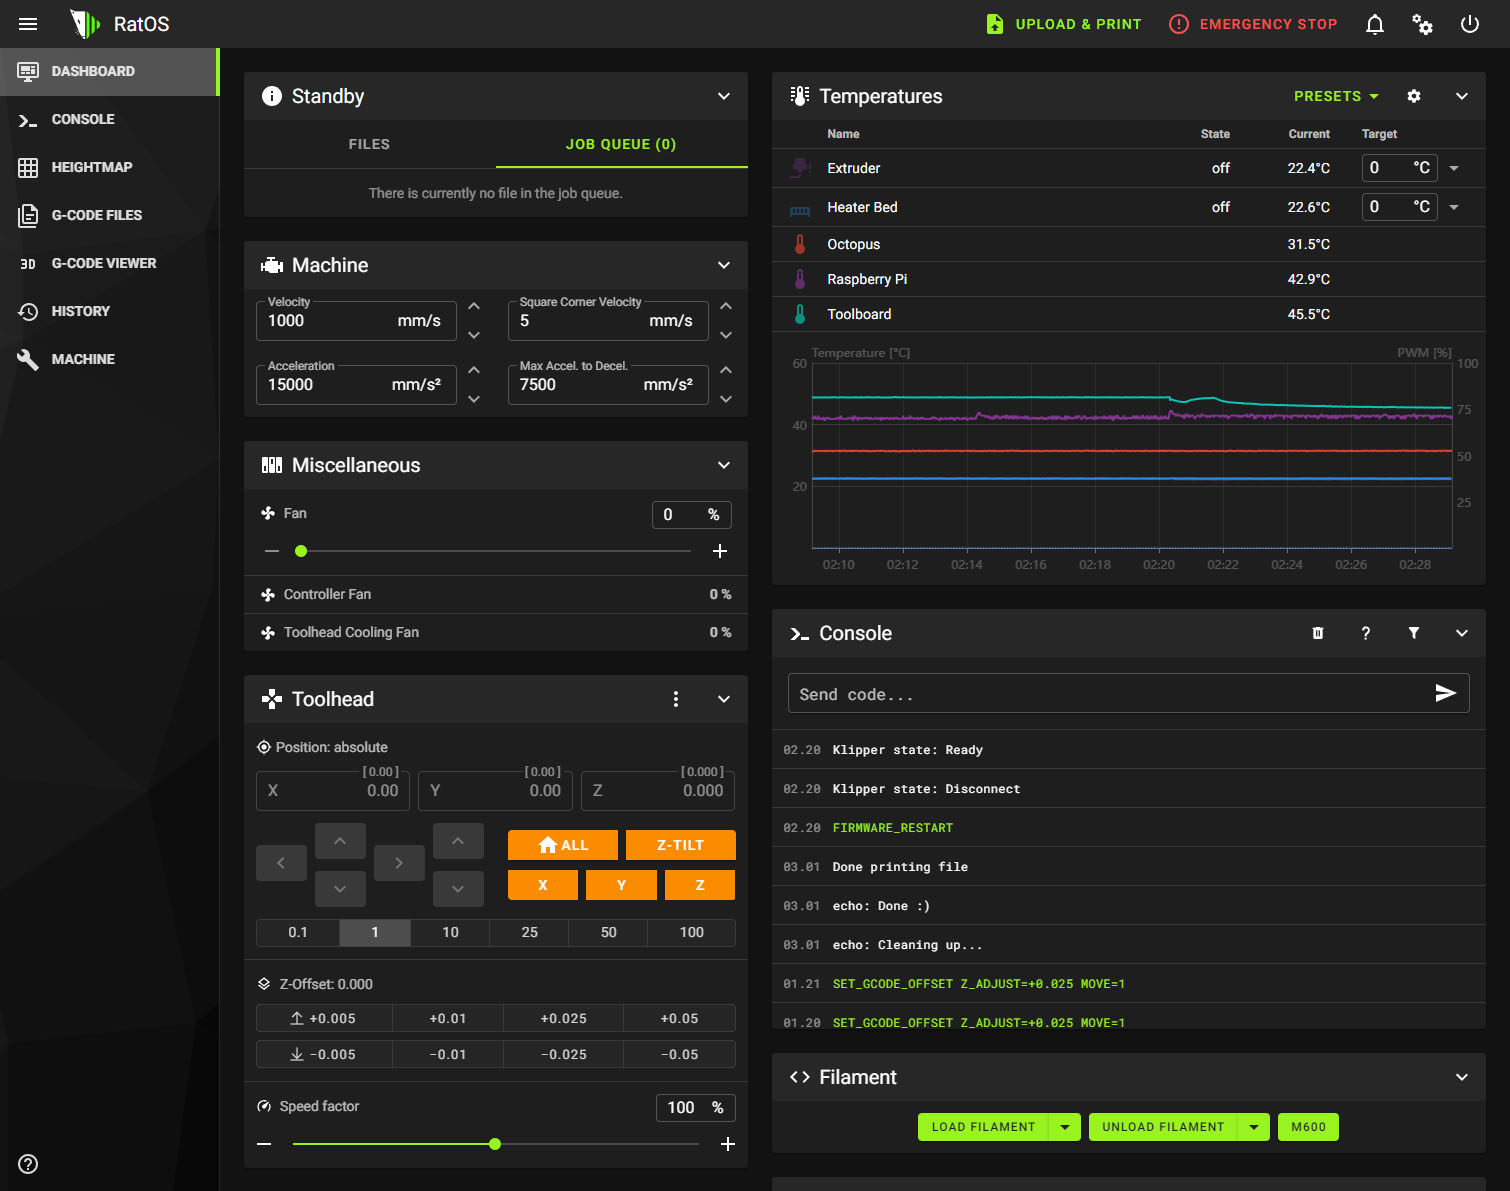
To learn more about mainsail, read the mainsail documentation.
Initial Configuration
On the dashboard of Mainsail you'll see 3 macros in the Macros section.
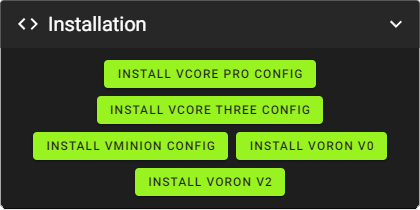
Click on the button that corresponds to your printer to install the configuration.
If you accidentally clicked the wrong button you can install another printer config by copying the contents of the template found in config/templates/ and pasting it into printer.cfg.
Now navigate to the Machine page in Mainsail (the webinterface you just opened in your browser), there's a list of files, among them is printer.cfg. Right click it and choose "Edit". This is where your klipper configuration lives. As you can see, it's prepopulated with all you need to get your printer up and running quick and easy. Follow the instructions in the file to make sure the configuration matches your setup.
Verify Stepper Directions
!> Do NOT use RatOS with other than stock steppers. If you are using different steppers please make sure to check their rating, and configure their currents accordingly (see Includes & Overrides).
Make sure your steppers are running in the correct direction. To do this, center all your axes by moving the carriage and bed manually, then type SET_CENTER_KINEMATIC_POSITION in the console. You can now use the Mainsail controls to move the axes. Check that your bed moves down when Z is increased. By default, the Z controls in the Mainsail interface will increase Z when you click the up arrow. This will lower the bed on a CoreXY machine with a moving bed such as the V-Core 3, and raise the X gantry on a bedslinger such as the V-Minion or V-Cast. If your bed does not move down (or your x gantry doesn't raise) when you click the up arrow, change the direction of your Z steppers in printer.cfg. There's instructions on how to do that at the top of printer.cfg.
If you want to invert the Z behavior in the Mainsail interface (ie. making the bed move down when you click the down arrow), click the cogs (settings) in the upper right part of the interface, then "control", and then enable "Invert Z Control". This will NOT change your stepper directions, it will only change what gcode the buttons execute.
Verify Endstops and Z-Probe
Navigate to the Machine tab. In here you can see your endstop state. Refresh the endstop state and verify that all endstops are open, and that the state changes to triggered when you manually trigger the endstops or z-probe and refresh the endstop state.
To test, debug and/or verify a BLTouch, refer to the BLTouch klipper documentation
Z-Offset
An easy way to do probe z-offset calibration is to home the printer, then put a piece of paper underneath the nozzle. Now babystep Z through the Mainsail interface (or by issuing G0 commands through the console) until the nozzle touches the paper and there's a bit of resistance when you pull on it. Then write "GET_POSITION" in the console and find the line that says // kinematic: ... And use the Z coordinate from that line, multiplied by -1. So if it says // kinematic: X:0.000000 Y:0.000000 Z:-0.400000 you need to add 0.4 to your probe's z_offset in printer.cfg.
Alternatively you can use the PROBE_CALIBRATE command, read more in the klipper probe calibration documentation
The z-offset is the distance in Z between your probe's trigger point and your nozzle in gcode space. This is typically within 0-4mm, if you get a larger value or a negative value, something is wrong, and you should investigate further.
in Mainsail 2.1 you can enable the Z-Offset panel outside of printing in your interface settings, and it now has a "Save" button, which means you can use those buttons to babystep until the nozzle touches the paper and just hit "Save" and you're done.
Updating
In the MACHINE tab in Mainsail, you'll see a sheet with the title "Update Manager", if you're familiar with Fluidd or Mainsail, you'll notice a new entry called RatOS. This RatOS package will update all the config files in the config folder, improvements, support for hotends, macros, extruders, new boards etc, will be coming to your printer this way in the future. Be sure to keep this up to date, especially if you update klipper.
In general, it's advisable to keep all your packages up to date, but if you're happy with how your printer works and there's nothing interesting to you in the updates, it's OK to delay updating until a later time. Klipper is a rapdily evolving project, that also means that bugs do happen, they're usually fixed very quickly, but if you have a bunch of important prints coming up, maybe delay the updates till afterwards.
Update
Now we've got that out of the way, please go ahead and update everything to the latest version.
Tuning
When you've verified that everything works, and you have your slicer configured to use the START_PRINT and END_PRINT macros, you can now start tuning. Refer to the klipper documentation for PID Tuning, Pressure Advance tuning, manual Input Shaper calibration or automatic Input Shaper calibration via an ADXL345, and Skew Correction respectively.
See the wiring diagram for you board on how to connect your ADXL345, RatOS primarily uses an SPI connection on the MCU itself instead of the RPi, for ease of use. Some printers may require more than one ADXL345, and in that case a config for the ADXL345 connected to the Raspberry Pi is also available.
If you want to use an ADXL345 for automatic input shaper calibration, all the software you need is already preinstalled on the pi, you just need to wire and map the pins for your ADXL345, and you're good to go.
To enable resonance testing, uncomment the adxl include section at the top of printer.cfg. To verify that your ADXL is properly connected, write MEASURE_AXES_NOISE in the Fluidd console, if the values are below 100, you're good to go. To calibrate input shaper, write SHAPER_CALIBRATE in the console.
For more information on automatic input shaper calibration, check out the official klipper documentation.