Installation
This is preliminary documentation for the upcoming v2.1.0 release. The work is still ongoing and the documentation is not yet complete.
Raspberry Pi Installation
There are multiple examples of bad quality sd cards causing boot and corruption issues. It's highly recommended to get SanDisk Ultra U1 A1 cards (16GB or larger) from an official source to ensure long life and reliable operation of your Raspberry Pi.
Download the newest release (download the RatOS-*.img.xz file under the assets dropdown) of RatOS on github. Then use Balena Etcher to write that image to the SD card that goes into your raspberry pi (16GB or larger). If balena etcher isn't working for you, you can try another tool such as RUFUS. If you're using the Raspberry Pi Imager, make absolutely sure you've disabled custom/additional settings, or it will break the RatOS hotspot and network configuration.
Note: this will destroy all data on the card!
It is recommended to use the 32-bit (rpi32) version of the image, 64-bit (rpi64) caused too high memory usage in some situations and is no longer provided.
WIFI or Ethernet
- Wait for the RatOS wifi hotspot to show up
When the RatOS image has been written to the SD card, insert the SD card into the Raspberry Pi and turn on the Pi. After a few minutes the raspberry pi will host a hotspot called "RatOS", join this hotspot on your phone or a PC/Laptop with wifi, the password is "raspberry".
- Open the RatOS configurator and complete the first step in the setup wizard to configure wifi and hostname
- If you're using a pi with Ethernet, you can use an ethernet cable instead and skip the wifi setup step.
When connected, open http://RatOS.local/configure or http://192.168.50.1/configure and follow the instructions presented there to setup wifi and your printers hostname.
Do NOT continue to the next step in the setup wizard before updating the software!
- Open mainsail before continuing to the next step in the setup wizard.
After completing the wifi setup wizard, RatOS will reboot your pi which will now join your wifi network. Wait a couple of minutes for it to boot up, then open http://RatOS.local/config in your browser (or whatever hostname you chose during setup). This will take you to Mainsail, which we'll now use to update RatOS and all related packages to the latest version.
If you cannot connect to http://RatOS.local/config but the RatOS hotspot doesn't show up, try looking up the IP of your pi on your routers admin interface and use that instead. Eg: http://192.168.0.123/config.
Updating RatOS
If you followed the link to the mainsail machine page above, you'll see a panel with the title "Update Manager", this is where you can update all the packages to their latest versions.
- Update RatOS packages first.
- If you see both
ratosandratos-configuratorin the list (RatOS prior to V2.1.0-RC4), start by updatingratosfirst, thenratos-configurator. - If you see only
ratos-configurator(mainsail v2.12 or below and/or RatOS prior to V2.1.0-RC4) orRatOS Core: Configuration & Configurator(mainsail v2.13 and RatOS V2.1.0-RC4 and above) in the list, update only this package. - Moonraker should've restarted automatically, but just in case, you can restart it manually by clicking the power icon in the top right corner, then the refresh icon next to "Moonraker" under "Service controls".
- If you see both
RatOS pins klipper and moonraker to known good version, and thus you have an additional layer of protection against bugs, as new updates won't be available without being tested by the RatOS team first. Nothing is perfect however, so if you have a bunch of important prints coming up, it never hurts to delay the updates until afterwards.
- Refresh the update manager panel, and click
Update All Componentsat the bottom of the panel, if there are updates available.
It is highly recommended to always - in all cases - update the RatOS core packages seperately before updating the rest of the software, as RatOS will prepare your system for any upcoming changes in third party software.
When klipper is updated, RatOS will attempt to flash your configured boards automatically. If this fails (which should be rare), you can always go back to the configurator, by clicking the "Configurator" link in the mainsail sidemenu, and use the wizard to detect and flash your board again. If you get a klipper error mentioning mcu and host versions, this means the automation failed and you need to flash your board again. There are some boards that cannot be flashed automatically, in this case you will have to flash your board manually.
In general, it's advisable to keep all your packages up to date, but if you're happy with how your printer works and there's nothing interesting for you in the updates, it's perfectly fine to delay updating until a later time.
Setting up your printer
- Proceed with the setup wizard until you've made it through the control board (and optionally toolboard) step.
Now that everything is up to date, click the "Configurator" button in the mainsail sidebar, and proceed with the setup wizard which will guide you through the rest of the setup.
- Wire up your printer after flashing your board(s).
Once you've made it through the control board (and toolboard) steps, you should wire up your printer according to the wiring diagram for your specific board, found in the sidebar here in the RatOS documentation before proceeding to the next step. You should power everything off before you start wiring.
-
Proceed with the hardware configuration wizard. RatOS will remember your choices, and you can click the steps in the navigation to the left to hop back and forth between steps.
-
Double check your choices and confirm your configuration at the last step.
-
Click "Save Configuration" and your printer should be ready to use!
You can click the "Exit to mainsail" button at the bottom of the sidebar to go back to Mainsail.
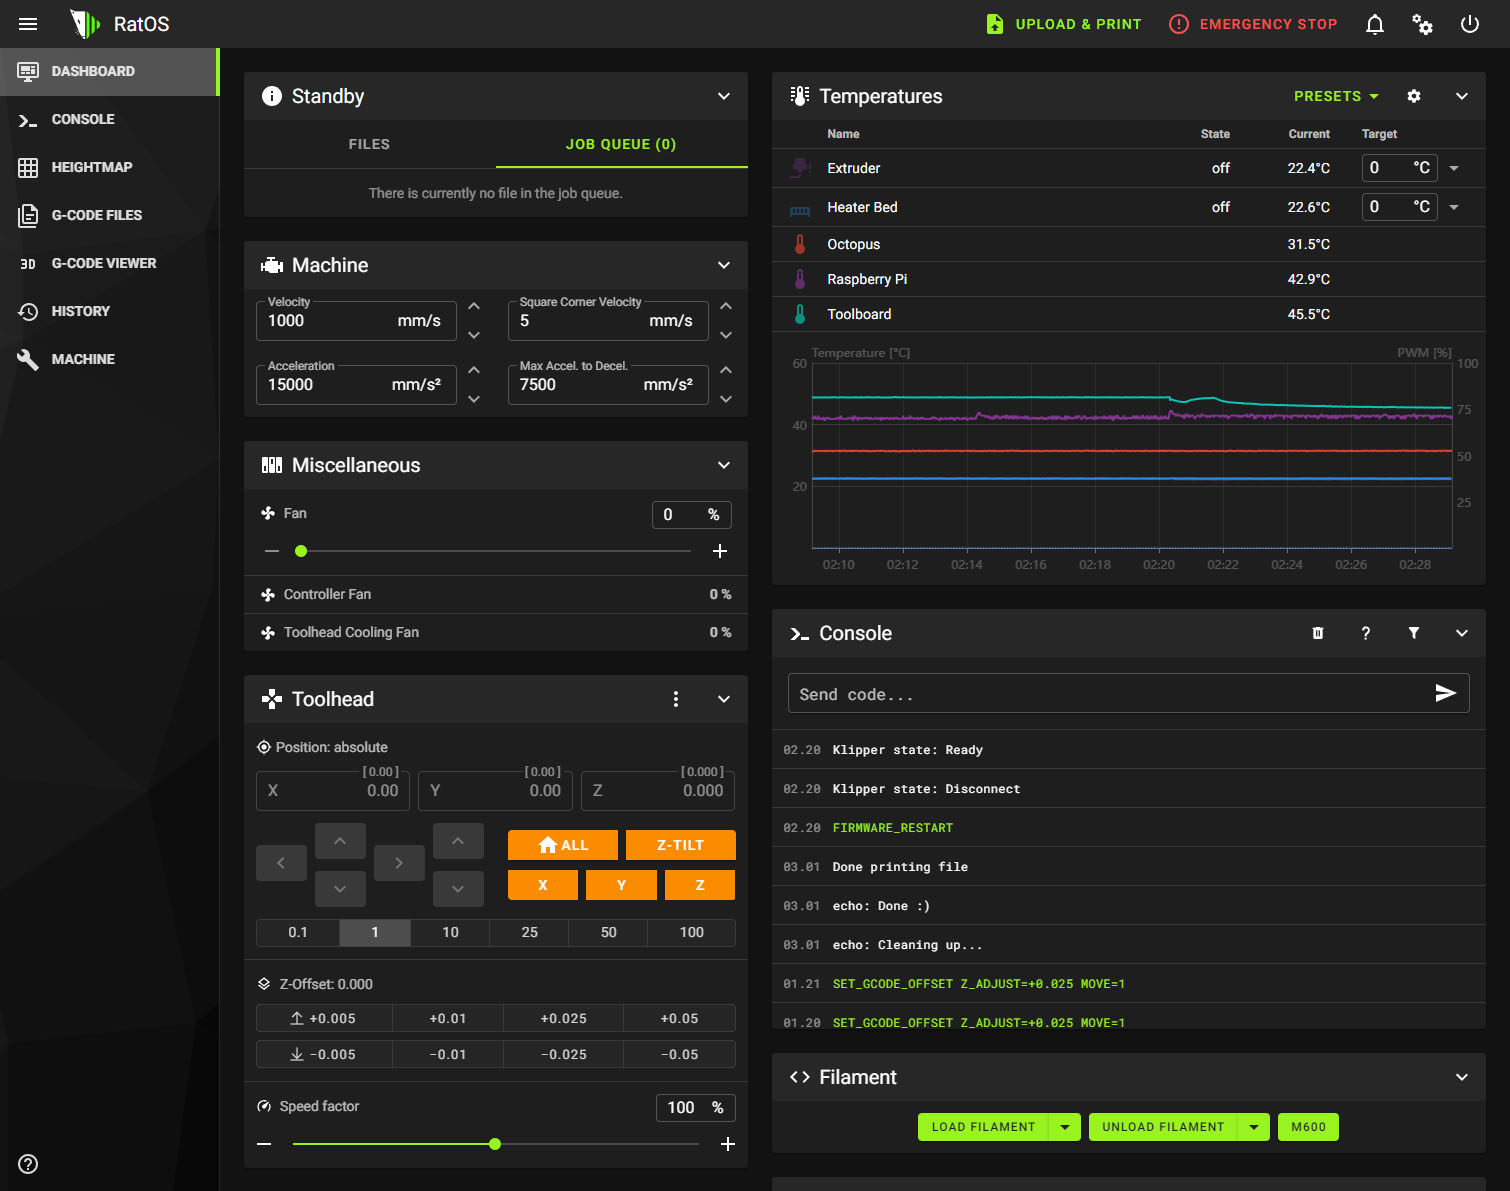
Mainsail
Mainsail is the control interface for your printer. Mainsail is a web application that talks to Klipper through Moonraker (the Klipper API). Mainsail is what you'll be using to start prints, monitor progress, configure klipper and much more. Mainsail is what you see when you open http://RatOS.local/
To learn more about mainsail, read the mainsail documentation.