BIGTREETECH Octopus Max EZ
Wiring
You will probably have to swap the outer two wires (red and white) on the board end of the cable but double check to make sure your cables match the wiring diagram in both ends. Orders shipped after October 2022 should have the correct cables (the connectors on the new cables are white).
A green square is where you would place a jumper, remove all jumpers on the board that are not marked by this symbol.
Jumpers
The jumpers above the stepper drivers switches stepper driver input power between V_MOT and VIN (ie, board power terminals and motor power terminals). In the configuration shown in the image above, the MOTOR power isn't connected because the jumpers are set to use the board power (VIN). If you wanted to use 48V for example, you would connect your 48V psu to the motor power terminal and switch those jumpers to the other position to use V_MOT instead. Of course you shouldn't do this unless you use high voltage capable 5160 drivers.
FAN Wiring
The fan wire colors in this diagram might not match the colors of the wires on your particular fan. Always refer to the spec sheet of your fan to make sure you're connecting your fan correctly.
Always remember to set the voltage selector correctly for the fan you're using.
The Octopus Max EZ supports both 2-pin and 4-pin fans. You can mix and match as you like. Always remember to set the voltage selector correctly for the fan you're using.
Firmware installation
Make sure your board is connected to the Pi via the provided USB-C cable (USB-C on the Octopus, USB-A on the Pi).
Follow the steps in the RatOS Configurator at http://RatOS.local/configure?step=1.
I updated klipper and now i get an error!
When you update klipper you might see an error that looks like this:
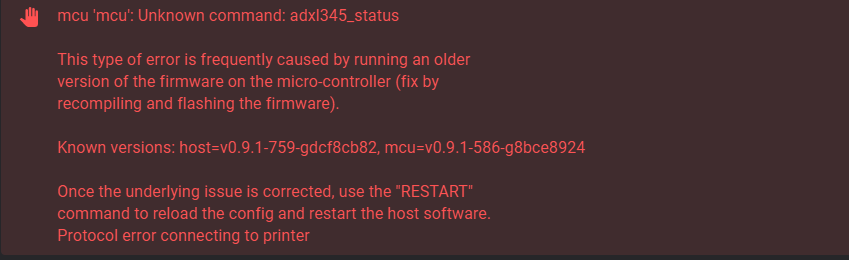
This is because klipper made changes to a part of the MCU firmware that we use, and something went wrong while automatically flashing your board. Klipper is telling us that the version of klipper running on the Pi is newer than the version running on the MCU. To fix this, we have to flash the board with a new version of the firmware, Follow the steps in the RatOS Configurator at http://RatOS.local/configure?step=1.